


Howdy friends.
Today I wanted to share a little tutorial on
how to make paper beads.
One of the things that drew me to the Noonday Collection
was my own passion for making jewelry and other handmade gifts.
I know the hard work that goes in to creating a gift from the heart.
Seeing that effort first hand will likely make you appreciate
how much time, energy, and fine motor pazazz goes in to crafting
our incredible paper bead jewelry,
including the

&

Yesterday, I had the pleasure of leading a group of ladies at a local church
in making their very own paper bead bracelet.
This would be a great activity to plan with your kids for the summer
OR
to have a crafty evening with your girlfriends.
Selah and I made one for her teacher for appreciation week this week.
Enjoy!

Supplies:
*Clear acrylic spray paint (fast-drying):
{for those of us who don't like waiting}
OR
Clear varnish
*Elmer's glue
*Stretch magic or other elastic string
*Ruler
*Paper slicer
*Small beads
*Scrapbook paper sheet (each sheet makes 2-3 bracelets)
*Pencil
*{Rounded} Toothpick
{**Warning: wash your hands before starting this project,
lest you be made quickly aware how dirty they really are. }
1.) Begin by measuring for your paper strips.
A typical scrapbook sheet is longer than 12x12,
so first cut yours down to 12x12
to avoid any ink showing up on your strips.
The size of your bead is totally up to you.
I made 1/2 inch strips for this project.
Mark your chosen measurement on the top of your 12x12 sheet
with little pencil marks.
On the bottom of your sheet,
measure 1/2 of your selected measurement above,
in order to get the right geometrical shape {a triangle}
for your paper strips.
So, mine was 1/4 inch for the first mark.
And then 1/2 for the rest.

2.) Using your tick marks as a guide, slice your paper
in subtle diagonal lines until you have at least 13 strips.
(Throw away the first cut, since it won't be diagonal one one side.
Unless you are a rebel. Then, use it.)
in subtle diagonal lines until you have at least 13 strips.
(Throw away the first cut, since it won't be diagonal one one side.
Unless you are a rebel. Then, use it.)

3.) Start with the wide end of each strip and role it around your toothpick
until you come to the end of the strip.
Then put a little dab of glue to secure.

If that little booger gets loose, don't fret.
Slide it off of the toothpick and secure it between your thumb and index finger,
then pull til it tightens again.
4.) Repeat this process until you have at least 13 paper beads.
(Make 14 if your wrists are on the larger side).
5.) Cut a piece off elastic string off.
Use your wrist as a measure and then leave a few inches on each side.
Be generous to allow room for pesky knot tying later.
6.) Now you will begin stringing your beads.
Start with a small glass bead.

In order to secure the bead,
place it through the elastic string
and then loop it up and through the hole again.
Pull it tight and string the remaining beads on.
{I alternated one small bead, one paper bead, one small bead, one paper bead, etc.}
7.) Once you've added all of your beads,
make sure that the length suits your wrist well by wrapping it around
to test it out.
If it seems like it will be too tight, then add another bead.
Too loose? Then take one off.
I wish everything in life were this simple...
8.) Now, for the surgeon's knot.
I don't know about you, but I didn't learn knots as a daisy.
And I never dated a boy scout,
so I had to rely on my friend Google.
Tie and regular knot as so...

But, before you pull it tight, wrap each end through the whole one more time....
and then pull.

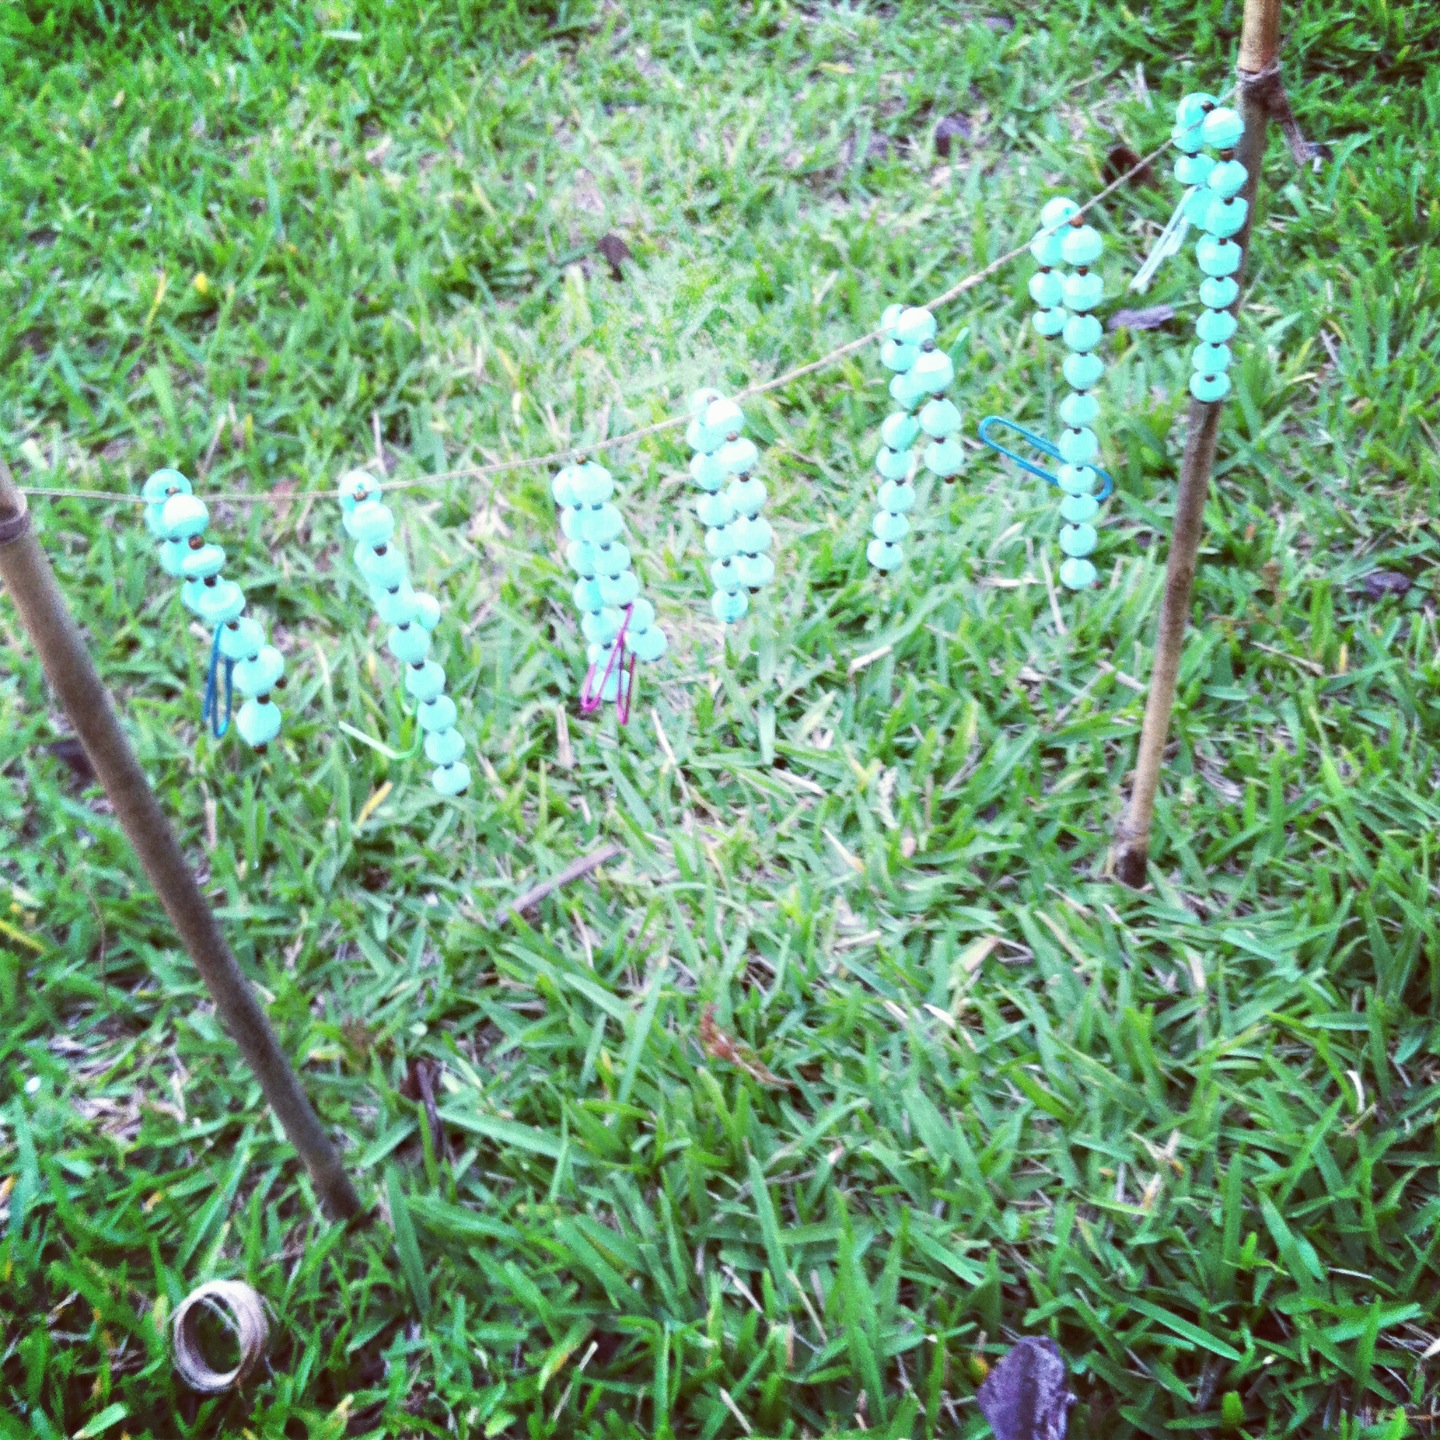
9.) And Shazam.
You've got yourself a sweet little piece of arm candy.

Or in our case, several little pieces.
10.) Now, take a minute to be grateful that as you made this little craft,
you have adequate shelter, water, clothing, access to healthcare and education,
air conditioning and an overall pretty fortunate life.
Amen.
Craft on, ladies. :)


No comments:
Post a Comment